![cc5404e7b75e6d484a23b7d9f19a2774.png]](https://support.arworkflow.com/hs-fs/hubfs/cc5404e7b75e6d484a23b7d9f19a2774.png?height=50&name=cc5404e7b75e6d484a23b7d9f19a2774.png)
Did you know there are 2 ways to assign a Workflow to an invoice?
-
Individually from the Customer Details page.
-
In bulk from the Workflow tab.
Individually: Customer Details Tab
Navigate to the Customer Details page by opening a customer profile.
On the right side of the Customer Details page, you'll see an orange button named + Assign Workflow. Click this button to add a new Workflow.
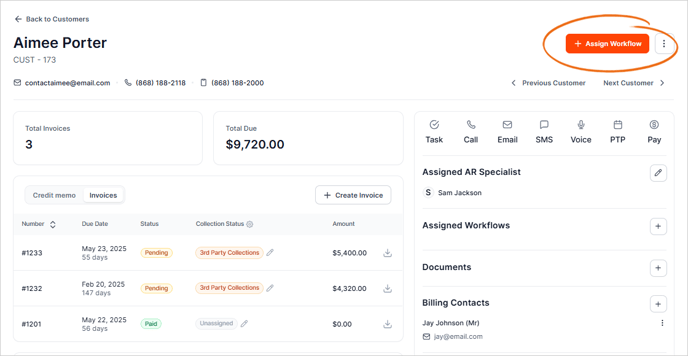
If a Workflow is already assigned, select the plus icon to assign another Workflow or click the three-dots icon and choose Delete to remove the assigned Workflow.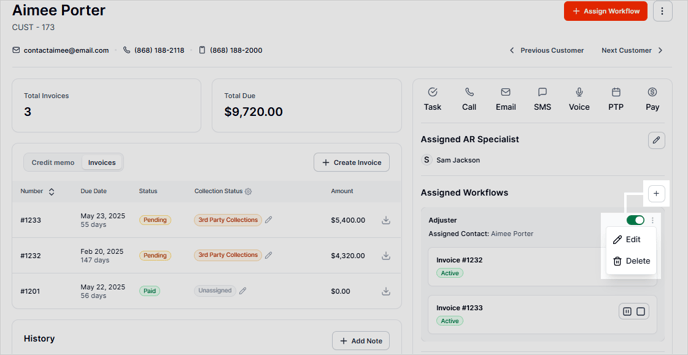
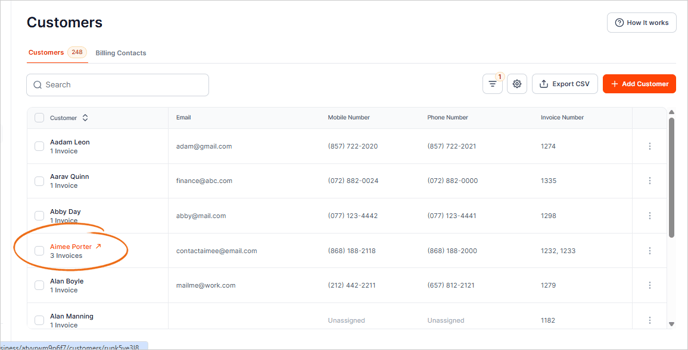
Bulk Assign: Customers Tab
You can also assign (or remove) more than 1 customer to a Workflow directly from the Workflow tab. Navigate to the Customers tab and click the check box located beside the customer's name. Once the customers are picked, click the Assign Workflow button.
This will allow you to add primary or billing contacts in a list format vs. adding them one by one from the Customer Detail Screen. 
Helpful Articles: