![cc5404e7b75e6d484a23b7d9f19a2774.png]](https://support.arworkflow.com/hs-fs/hubfs/cc5404e7b75e6d484a23b7d9f19a2774.png?height=50&name=cc5404e7b75e6d484a23b7d9f19a2774.png)
Securing your AR Workflow account with Multi-Factor Authentication (MFA) is an essential step to protect your data. MFA adds an extra verification layer each time you log in, ensuring only authorized users can access your account.
This article will guide you through enabling MFA using an authenticator app such as Google Authenticator.
🔐 What Is Multi-Factor Authentication (MFA)?
MFA requires you to verify your identity through two steps:
-
Your password, and
-
A one-time verification code generated by an authenticator app or sent to your email.
Enabling MFA significantly reduces the risk of unauthorized access and is a mandatory security requirement for all AR Workflow users.
📌 How to Set Up MFA in AR Workflow
Follow the steps below to enable Multi-Factor Authentication on your account:
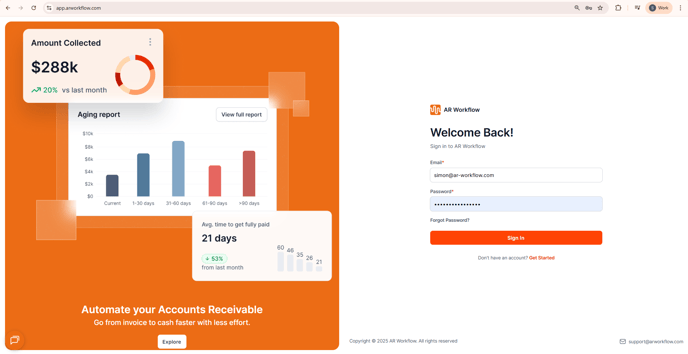
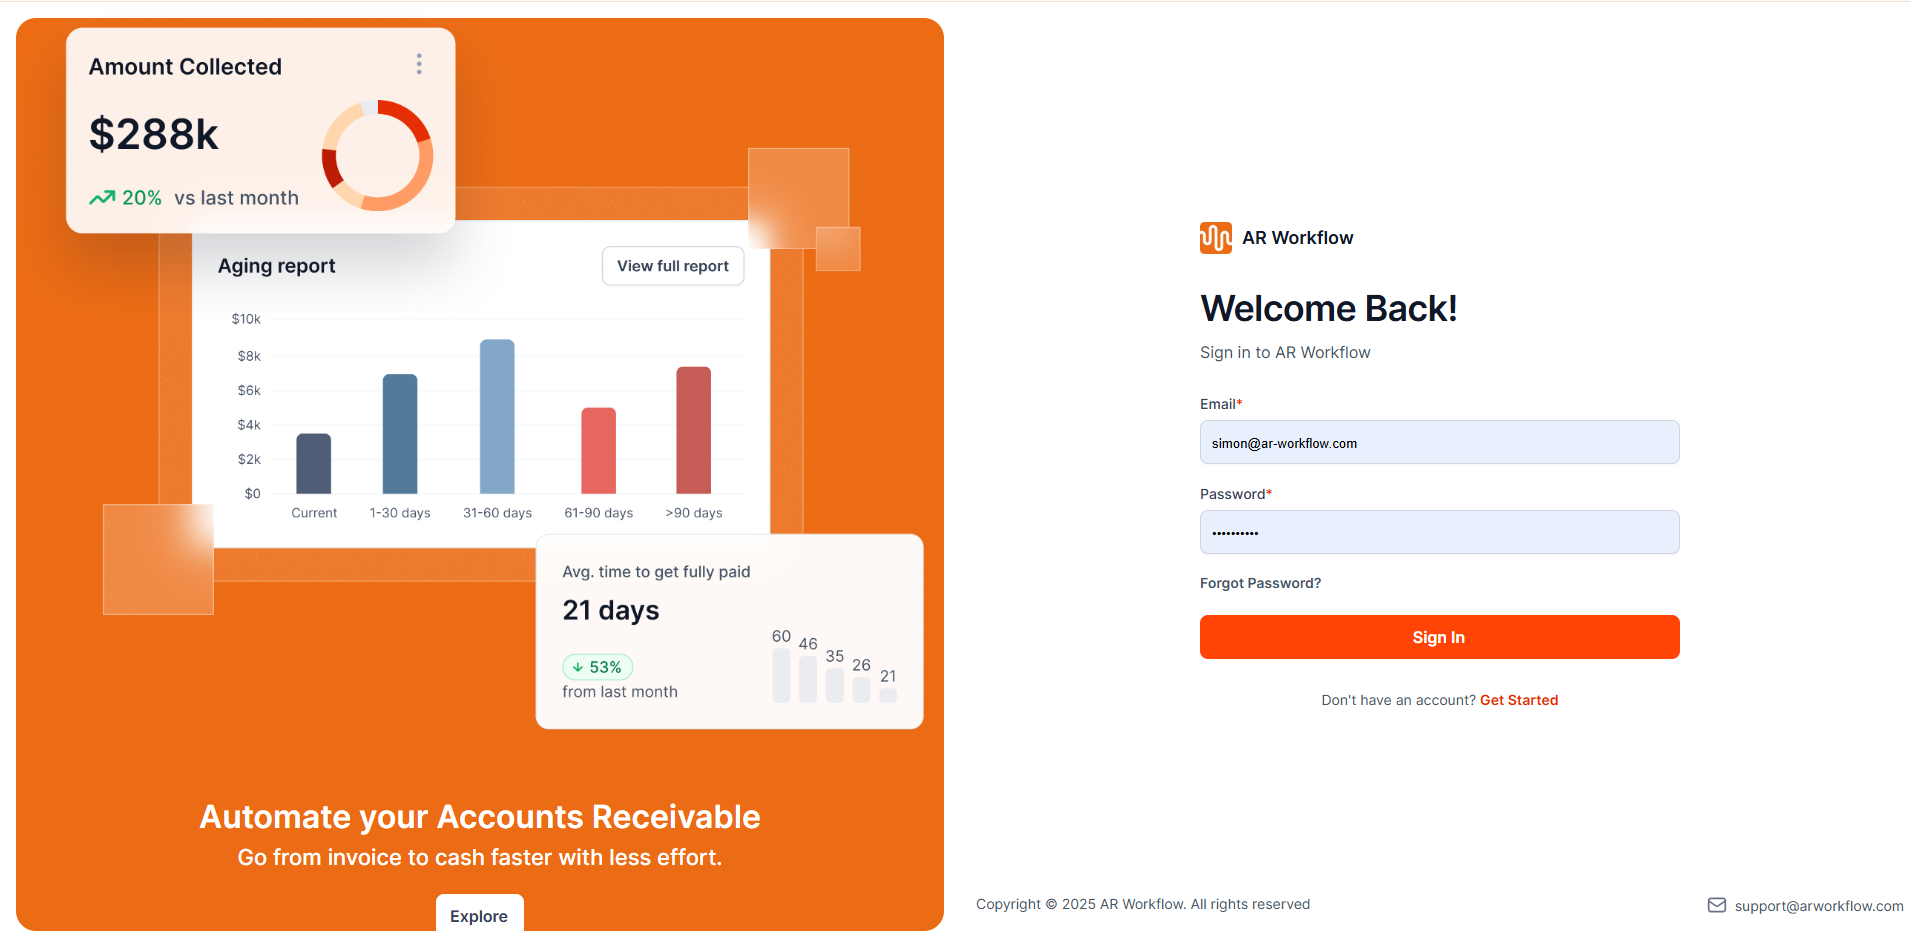
1. Log in to the AR Workflow Application
-
Sign in using your email and password.
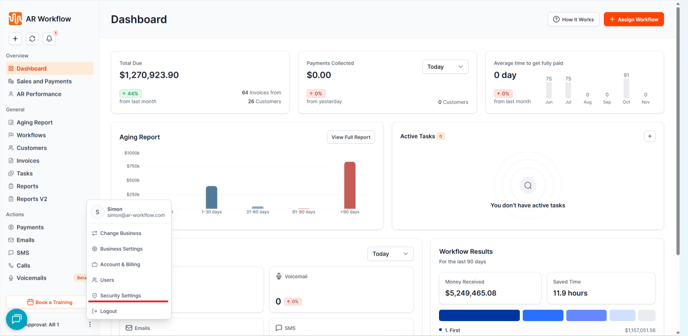
2. Open Your Security Settings
-
Once logged in, navigate to the bottom-left corner of the platform.
-
Click the three dots (…) next to your business name.
-
From the menu options, select Security Settings.
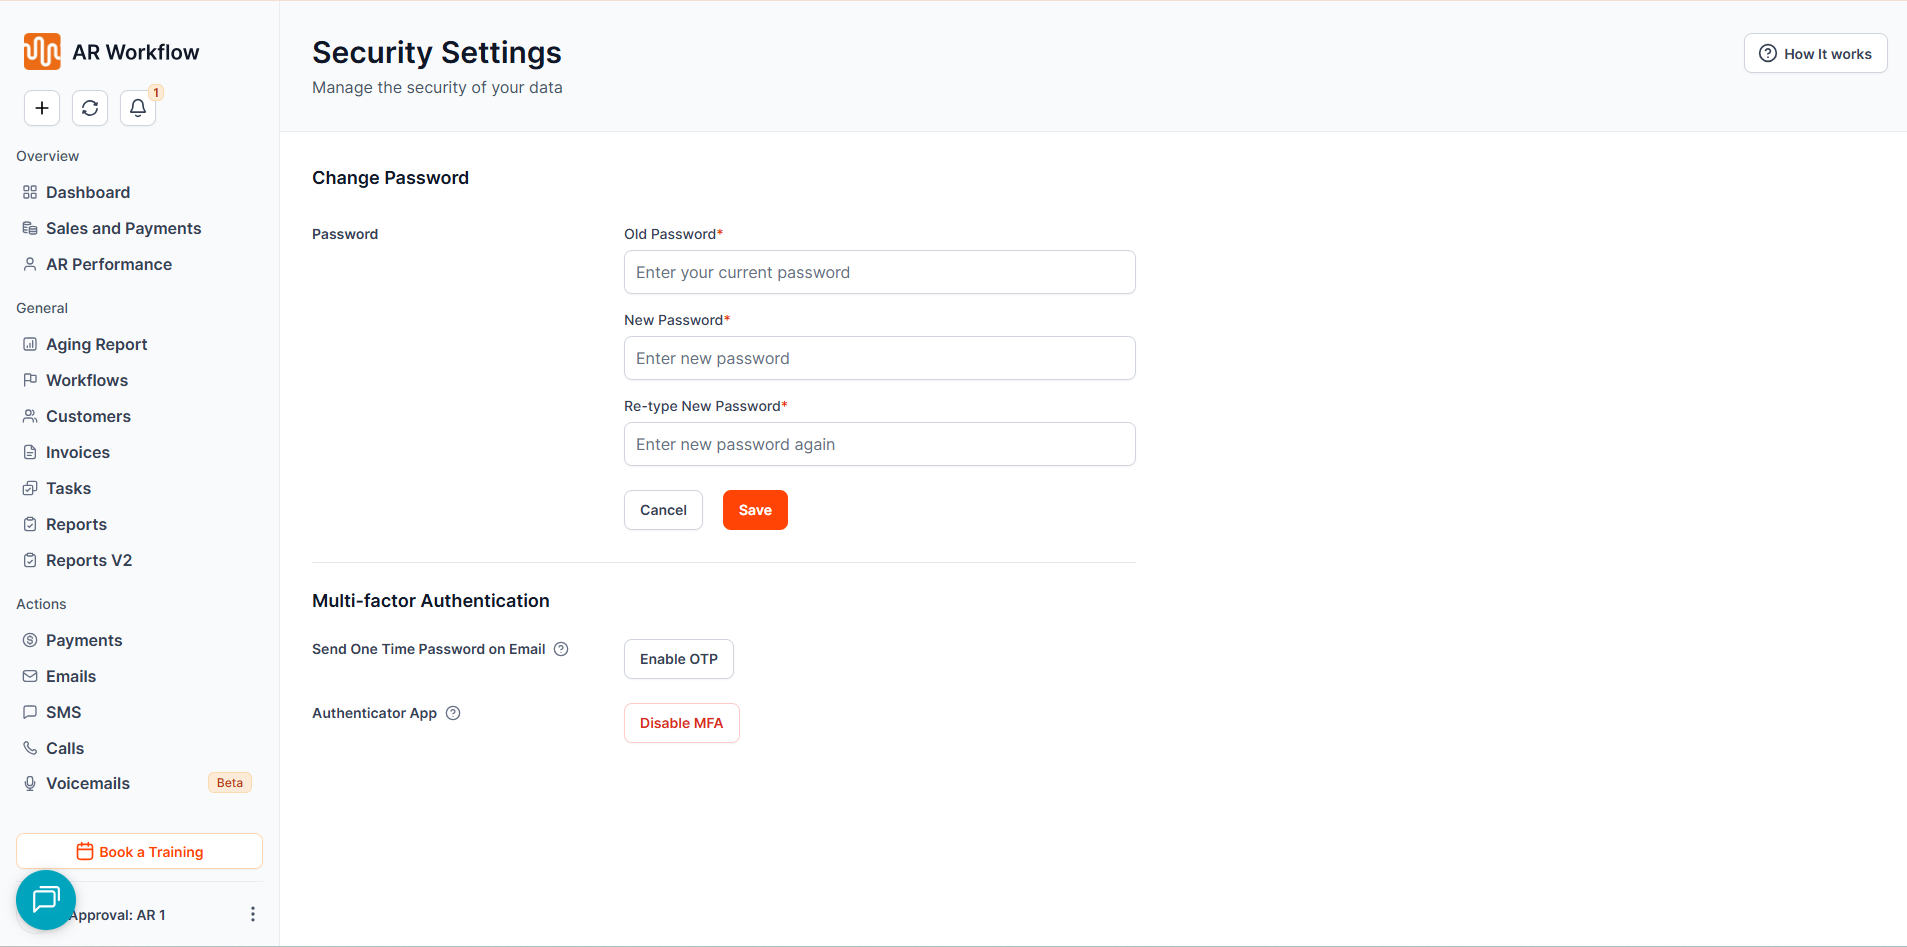
3. Locate the MFA Options
On the Security Settings page, you will see a section labeled Multi Factor Authentication which contains two options:
-
Send One Time Password on Email — Enable OTP
-
Authenticator App — Enable MFA
For the strongest level of protection, we recommend enabling MFA through an authenticator app.
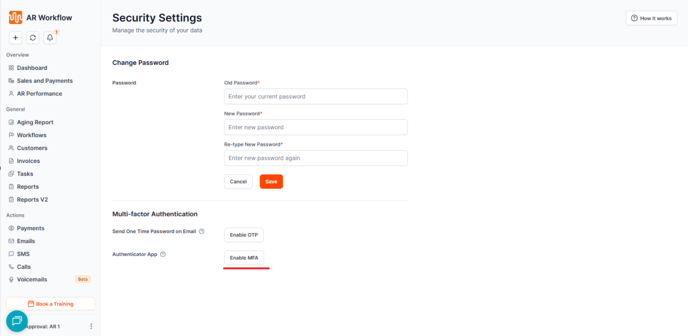
4. Click "Enable MFA"
-
Under Authenticator App, click Enable MFA.
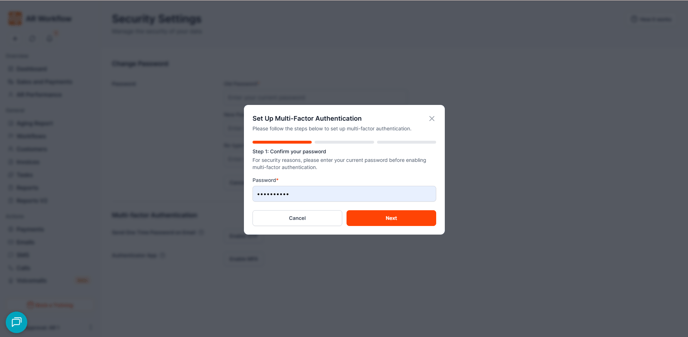
-
You will be prompted to enter your account password for verification.
-
After entering your password, click Next.
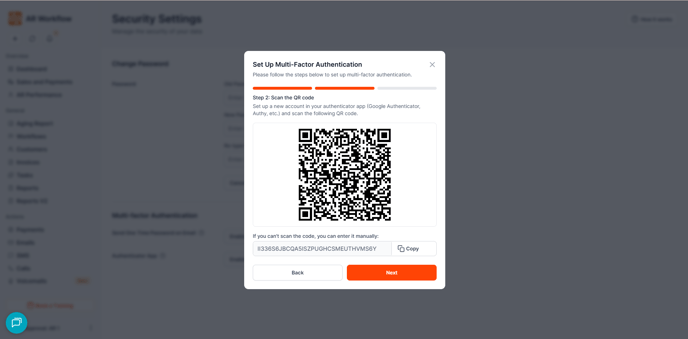
5. Scan the QR Code with Your Authenticator App
-
A QR code will appear on your screen.
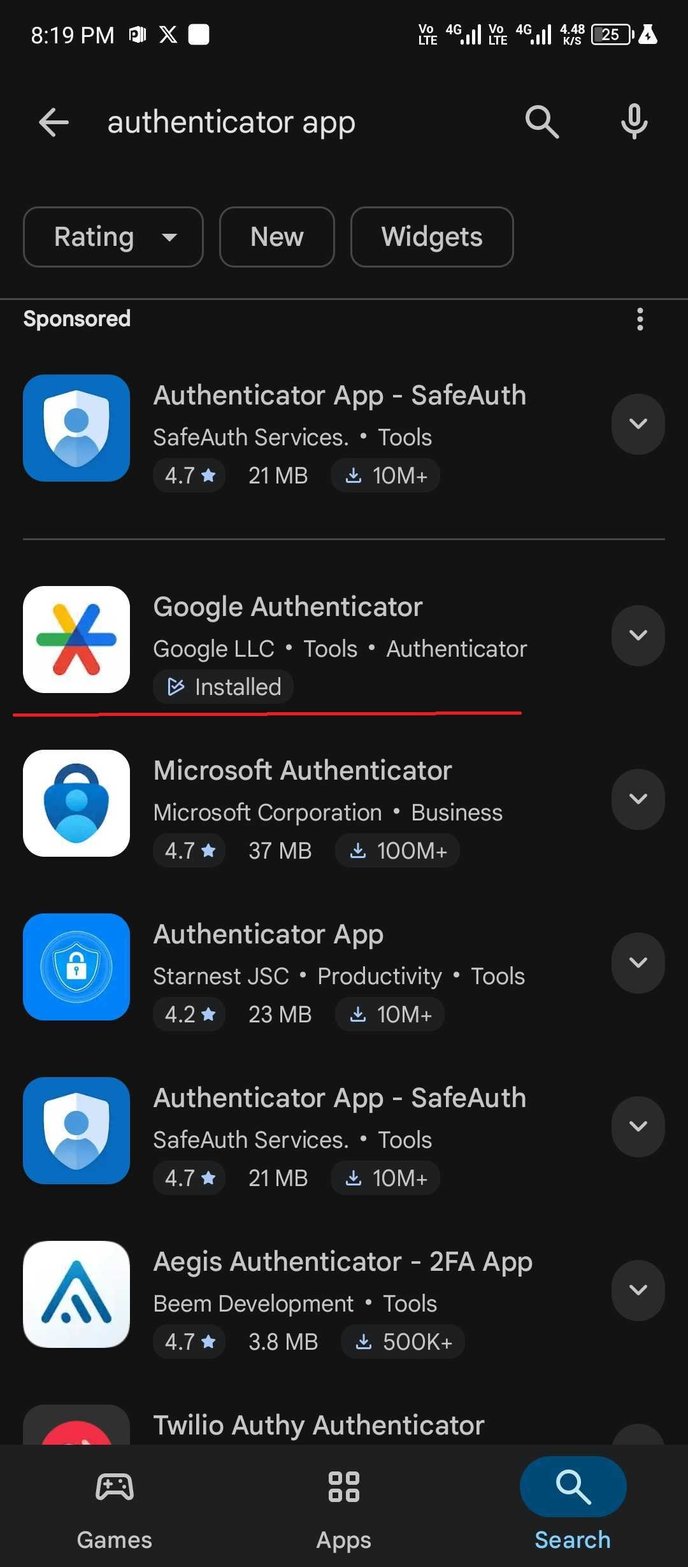
-
Open your Google Authenticator App (or your preferred authenticator app).
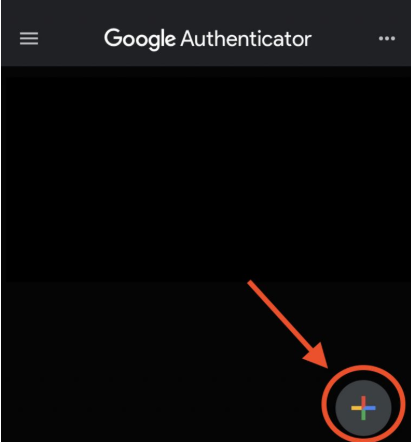
-
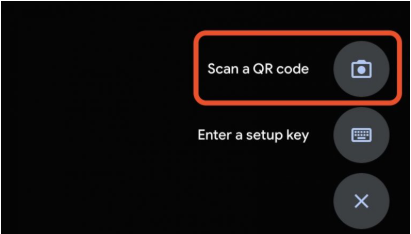
Tap Add or the “+” icon, then select Scan QR Code.
-
Scan the QR code displayed in AR Workflow.
This will add your ARWF Security Token to your authenticator app.
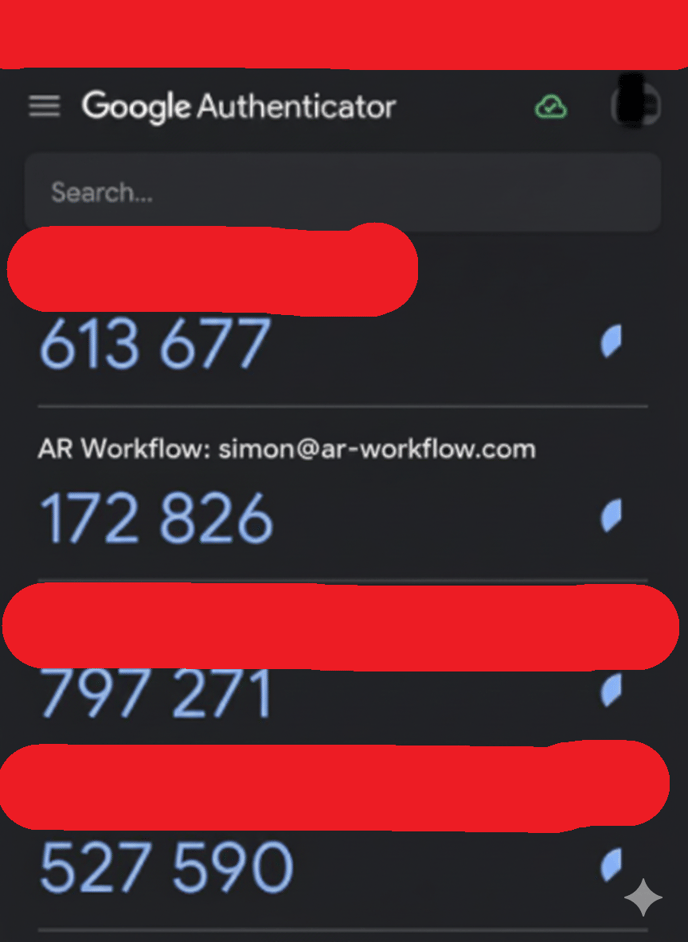
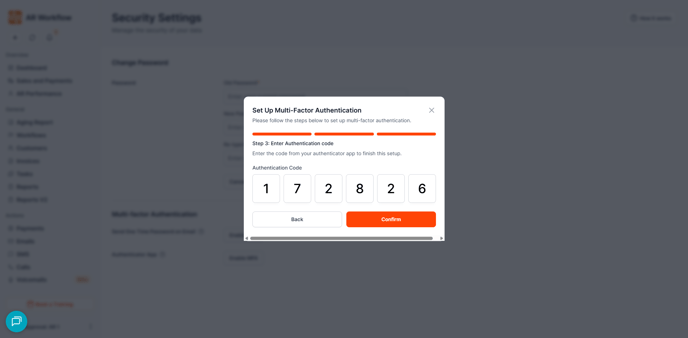
6. Enter the Verification Code
-
After adding the ARWF token, your authenticator app will generate a 6-digit verification code.
-
Enter this code back in the AR Workflow prompt.
-
Click Confirm.
Once the code is accepted, MFA will be successfully enabled on your account.
🔄 Logging In After MFA Is Enabled
Each time you log into AR Workflow:
-
Enter your email and password as usual.
-
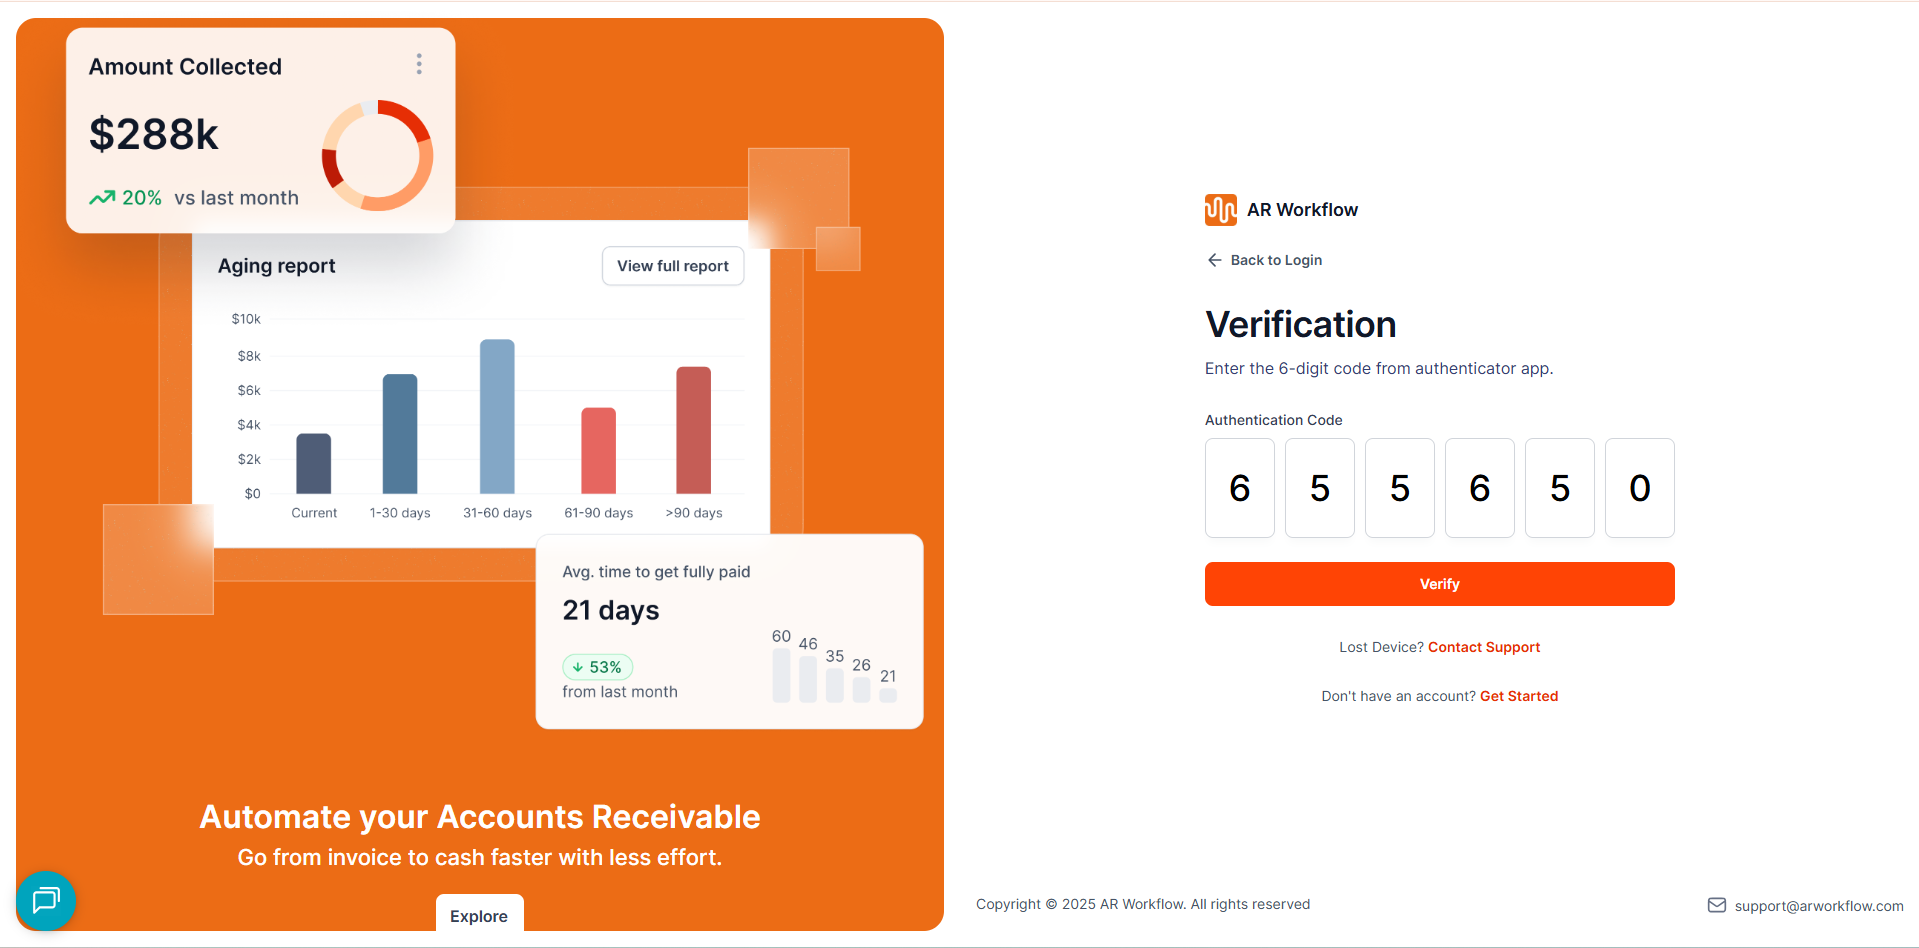
You will be prompted to enter a Verification Code.
-
Open your authenticator app to retrieve the current 6-digit code.
-
Enter the code to complete your login.
This extra step ensures your account and data remain protected against unauthorized access.
🎉 MFA Setup Complete!
You have now enabled Multi-Factor Authentication on your AR Workflow account. This essential security step helps safeguard your financial workflows and sensitive customer information.
If you need help or run into any issues during setup, please contact the AR Workflow Support Team — we're here to help!